About WebDNA 6.2
(C) 1995-2009 WebDNA Software Corp.
==========================================================================
QuickStart Installation Instructions:
==========================================================================
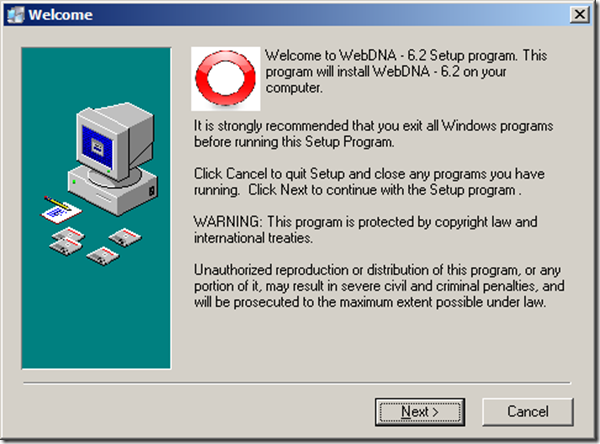
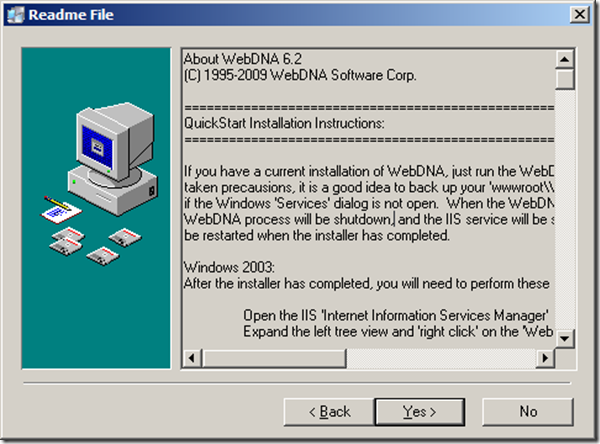
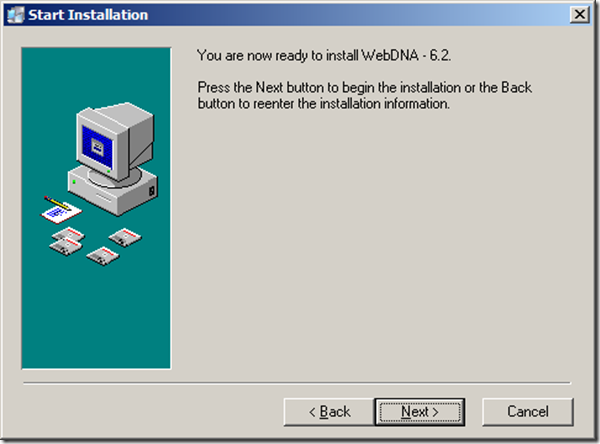
If you have a current installation of WebDNA, just run the WebDNA 6 installer. Though we have
taken precausions, it is a good idea to back up your ‘wwwrootWebCatalog’ directory. It helps
if the Windows ‘Services’ dialog is not open. When the WebDNA 6 instalation begins, the current
WebDNA process will be shutdown, and the IIS service will be stopped. These will
be restarted when the installer has completed.
Windows 2003:
After the installer has completed, you will need to perform these steps:
Open the IIS ‘Internet Information Services Manager’
Expand the left tree view and ‘right click’ on the ‘Web Sites’ folder, select ‘Properties’
In the ‘Web Site Properties’ dialog, select the ‘Home Directory’ tab
Set Execute Permissions to Scripts Only
CHECK CONFIGURATION:
Click ‘Configuration’ Button
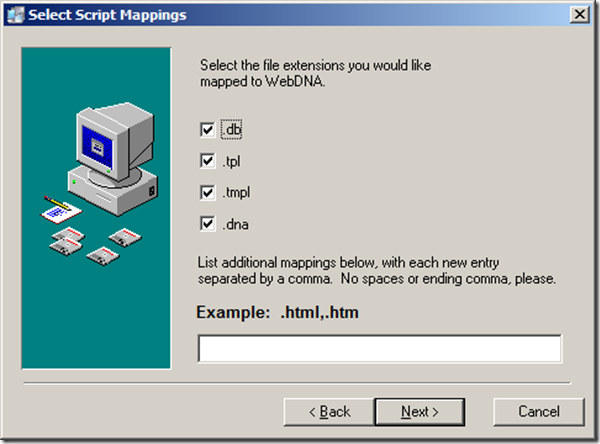
In the ‘Application Configuration’ dialog, select the ‘Mappings’ tab.
If you do not see .tpl, .dna, and .db as existing suffixes, proceed with the following:
Click ‘Add’
In the ‘…Extension Mapping’ dialog…
Set Executable path to the $WebCat.dll file
(The $WebCat.dll is usually located here -"c:InetpubscriptsWebCatalogEngine$WebCat.dll")
Set Extension to ‘.tpl’
Click ‘OK’ to exit ‘…Extension Mapping’ dialog
*Repeat the ‘Add’ step for ‘.dna’ suffix mapping.
*Repeat the ‘Add’ step for any additional extentions you want mapped to WebDNA such
Click ‘OK’ to exit ‘Application Configuration’ dialog
Click ‘OK’ to exit ‘Web Site Properties’ dialog
Back in the IIS ‘Internet Informatin Services Manager’ application…
In the left tree view, ‘right click’, on the ‘Web Services’ folder, select ‘Add a new Web Service Extension’
In the ‘New Web Service Extension’ dialog…
Set Extension Name (optional – usually ‘WebCat’)
Click ‘Add’ button to add path to $WebCat.dll (Using the same path you entered before)
Check box ‘Set extension status to allowed’
Click ‘OK’ to exit the ‘New Web Service Extension’ dialog
Back in the IIS ‘Internet Informatin Services Manager’ application…
At root of the left tree view, ‘right click’ on the node labeled <Computer Name> (local computer)…
Select All Tasks –> Save Config to Disk
Again, At root of the left tree view, ‘right click’ on the node labeled <Computer Name> (local computer)…
Select All Tasks –> Restart IIS
IF SERVICES DO NOT START:
In some configurations you may have to expand the WebSites tab and start each service manually by
right-clicking on the website that was created and selecting ‘start’ from the menu.
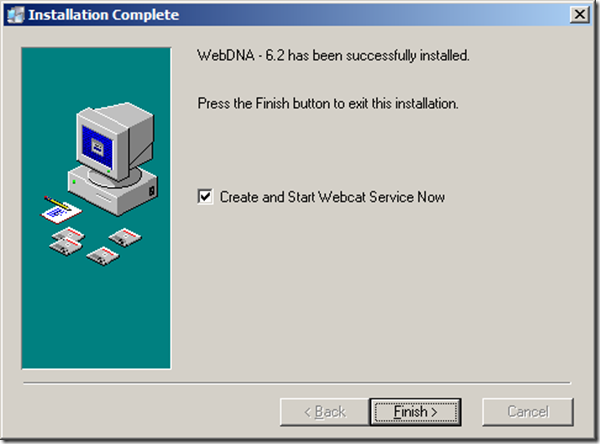
After you have finish the WebDNA installation…
1. Launch your web browser software on either your server, or (preferably)
another computer connected to the server over the network.
2. In the Location/Address field of your browser enter the following URL:
http://<your.server>/WebCatalog/index.htm (You may need to enable your default WebSite in IIS)
where "<your.server>" is the IP address or domain name of your web server
(assuming WebDNA is installed at the root of your web server folder).
3. When a WebDNA web page is accessed for the first time, it will ask for
a serial number. Enter your serial number and then click OK. (Your serial
number has been provided in your WebDNA package, or was emailed to you.)
If this is a demonstration version, or you are a developer, answer the math question
to run the time-limited version.
4. The WebDNA home page is displayed. Links to all the necessary
administration and reference materials are located here. You may want to
bookmark this location for easy reference.
IMPORTANT: The next step provides instructions on changing the
administration password so other users will not be able to affect your site.
5. Click "Administration:Security" to enter a username and password for the user "admin".
By default this is user: ‘admin’ Pass: ‘admin’. **Note** if you find you cannot
access the security page, or any of the deeper admin pages, your mapping forthe
.db suffix is probably not set right. Go back and revisit the "MAPPINGS" section
above to map .db, .tpl. and .dna.
Click on "Show All Users". You
should see a single default user whose name, password and group is "admin".
Click the "Edit" link for the admin user and enter a new password. Click "Change
User".
See Chapter 2 of the WebDNA User Guide for further information on configuring and
administering WebDNA.
——————————————————————————–
This document provides a brief overview of your WebDNA(TM) package. For more
specific information, please read the documentation included with the package.
Get the latest version! This is version 6.2, released 2009. You will find
the latest version of WebDNA at http://dev.webdna.us/products.html
Contents:
* System Requirements
* Upgrading From a Previous Version
* Documentation
* What’s New in WebDNA 6
* Contacting WebDNA Software Corp.
System Requirements
Hardware:
* An XP, or 2003 to 2008 compatible computer with at least 128 MB of RAM in addition to that
needed for the web server software, 128 MB of available hard drive space and an
Ethernet connection. Additional memory and hard drive space may be required for
large databases.
Software:
On your server:
* Microsoft IIS
On your HTML or web page development computer:
* Web browser software such as Firefox, Seamonkey or Microsoft Internet Ex
plorer
* HTML development software
Upgrading From a Previous Version
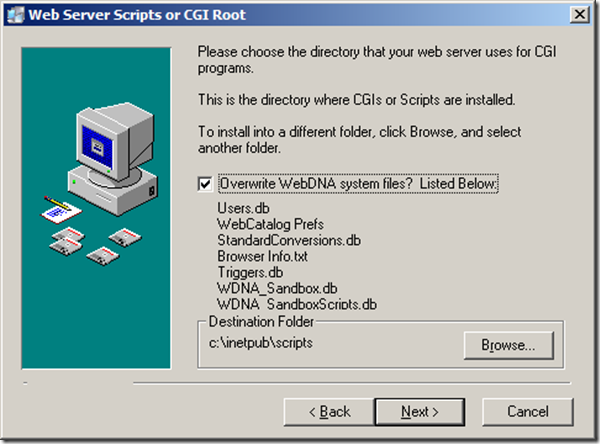
If you already have WebCatalog 4 or 5 installed, this installer will overwrite the
current programs and files with newer versions. Unless otherwise directed, the WebDNA
installer will not overwrite the following WebDNA file:
Users.db
WebCatalog Prefs
StandardConversions.db
Browser Info.txt
Triggers.db
WDNA_Sandbox.db
WDNA_SandboxScripts.db
WDNA_ISP_Hosts.db
WDNA_ISP_Plans.db
WebMerchantStores.db
Documentation
To get the most out of WebDNA, you should read the documentation thoroughly.
The documentation has complete instructions on installing and configuring
WebDNA as well as a complete reference section on WebDNA, WebDNA’s
language for creating web sites. It also contains a tutorial that provides
step-by-step instructions to assist you in setting up your own web commerce
site using the TeaRoom templates that are part of the WebDNA package. The
included online docs (in HTML format) provide a reference only, but are sometimes
handier because they are completely hyperlinked between similar subjects.
New in 2009, check out our video tutorials at http://dev.webdna.us and click
on training.
This documentation is included in Adobe Acrobat¨ format and a programmers
reference is online in HTML format.
What’s New In WebDNA 6.2x
All Platforms
Compatibility with newer OS’s.
Commerce Improvements:
OrderFile encryption
Improved MySQL compatibility.
– CMS Enhancements:
Added checkboxes to the asset lists so that one operation could be performed on multiple files at the same time.
New ‘Activity’ view that displays all files that are checked out or pending approval.
New option in ‘Migration’ form to filter out ‘db’ files when migrating from staging to production.
– New ‘SiteBuilder’ templates (formerly ‘StoreBuilder’) :
Greatly improved Website Administration portal that provides:
Simple page navigation customization
Simple color scheme and graphics layout
Save and restore layout/color ‘themes’
Selectable navigation models, i.e., horizontal main navigation bar versus left hand navigation pane.
Built in Intranet templates.
Improved group security model for limiting access to content categories and navigation links.
Easily add your own custom templates and HTML pages.
Generate websites from pre-configured WebDNA ISP Host ‘packages’.
– New WebDNA ‘ISP Hosts’ :
When building a SiteBuilder folder as a WebDNA Sandbox, there is an option to set the new website up
as a WebDNA ‘ISP Host’. There are four configurable ‘ISP Plan’ options. The ISP Hosts and ISP
– New optional security for orderfile headers
Plans
are configurable via new WebDNA admin templates.
– It is now possible to fetch a binary file, via [writefile] wrapped around [TCPSend], and using the ‘skipheader’ option.
For Example:
[tcpconnect host=[host]]
[writefile file=test.jpg][tcpsend skipheader=T]GET /[path_to_jpg] HTTP/1.0[unurl]%0D%0A[/unurl][!]
[/!]Host: [host][unurl]%0D%0A%0D%0A[/unurl][!]
[/!][/tcpsend][/writefile]
[/tcpconnect]
– Improved ISAPI extension: WebDNA can now handle large upload posts, without blocking other WebDNA page requests.
=====================
Bug fixes for 6.2:
=====================
See latest changes and fixes at:
http://dev.webdna.us/?swb=appendixc
Contacting WebDNA Software Corp.
WebDNA Software Corporation
100 South Baldwin
Suite 307
Madison, WI 53703
USA
World Wide Web:
Main: http://www.webdna.us
Developer Resource Center: http://dev.webdna.us/
Email:
Sales: info@webdna.us
Support: support@webdna.us
Phone: (302) 703-0036
Edited 02-02-2009
(C) 2009 WebDNA Software Corporation
Other products mentioned are trademarks of their respective publishers.
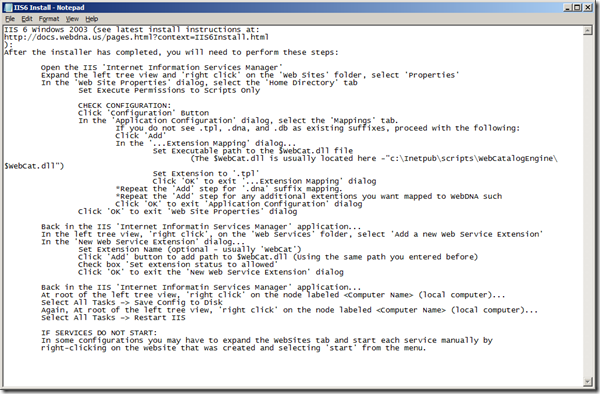
IIS 6 Windows 2003 (see latest install instructions at:
http://docs.webdna.us/pages.html?context=IIS6Install.html
):
After the installer has completed, you will need to perform these steps:
Open the IIS ‘Internet Information Services Manager’
&#
160; Expand the left tree view and ‘right click’ on the ‘Web Sites’ folder, select ‘Properties’
In the ‘Web Site Properties’ dialog, select the ‘Home Directory’ tab
Set Execute Permissions to Scripts Only
CHECK CONFIGURATION:
Click ‘Configuration’ Button
In the ‘Application Configuration’ dialog, select the ‘Mappings’ tab.
If you do not see .tpl, .dna, and .db as existing suffixes, proceed with the following:
Click ‘Add’
In the ‘…Extension Mapping’ dialog…
Set Executable path to the $WebCat.dll file
(The $WebCat.dll is usually located here -"c:InetpubscriptsWebCatalogEngine$WebCat.dll")
Set Extension to ‘.tpl’
Click ‘OK’ to exit ‘…Extension Mapping’ dialog
*Repeat the ‘Add’ step for ‘.dna’ suffix mapping.
*Repeat the ‘Add’ step for any additional extentions you want mapped to WebDNA such
Click ‘OK’ to exit ‘Application Configuration’ dialog
Click ‘OK’ to exit ‘Web Site Properties’ dialog
Back in the IIS ‘Internet Informatin Services Manager’ application…
In the left tree view, ‘right click’, on the ‘Web Services’ folder, select ‘Add a new Web Service Extension’
In the ‘New Web Service Extension’ dialog…
Set Extension Name (optional – usually ‘WebCat’)
Click ‘Add’ button to add path to $WebCat.dll (Using the same path you entered before)
Check box ‘Set extension status to allowed’
Click ‘OK’ to exit the ‘New Web Service Extension’ dialog
Back in the IIS ‘Internet Informatin Services Manager’ application…
At root of the left tree view, ‘right click’ on the node labeled <Computer Name> (local computer)…
Select All Tasks –> Save Config to Disk
Again, At root of the left tree view, ‘right click’ on the node labeled <Computer Name> (local computer)…
Select All Tasks –> Restart IIS
IF SERVICES DO NOT START:
In some configurations you may have to expand the WebSites tab and start each service manually by
right-clicking on the website that was created and selecting ‘start’ from the menu.
Navigate to the page: http://localhost/webcatalog/index.html.
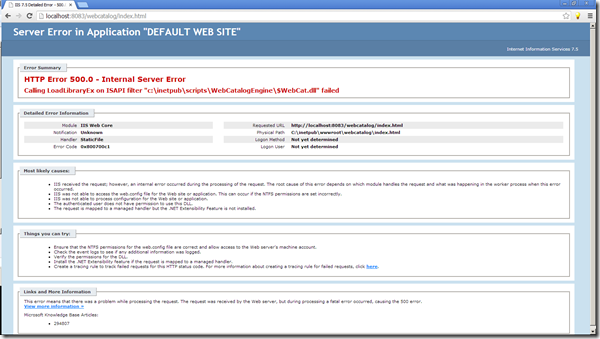
If you end up with below error on the page:
HTTP Error 500.0 – Internal Server Error
Calling LoadLibraryEx on ISAPI filter "c:inetpubscriptsWebCatalogEngine$WebCat.dll" failed
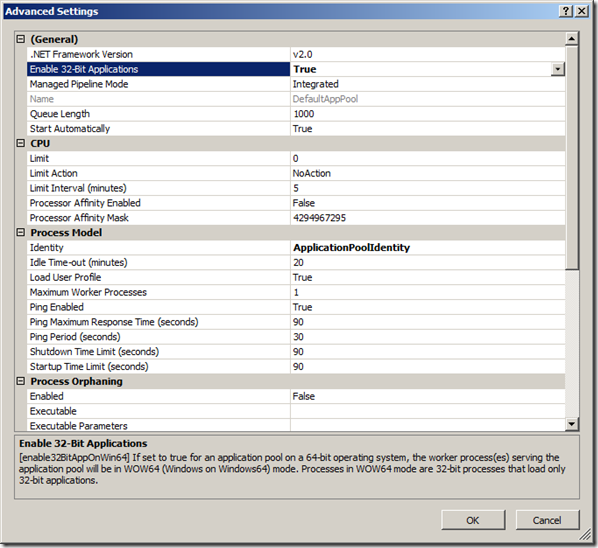
Make sure you set
Inetmgr > Application Pools > Default AppPool > Advanced Settings > Enable 32-Bit Applications.
to TRUE:
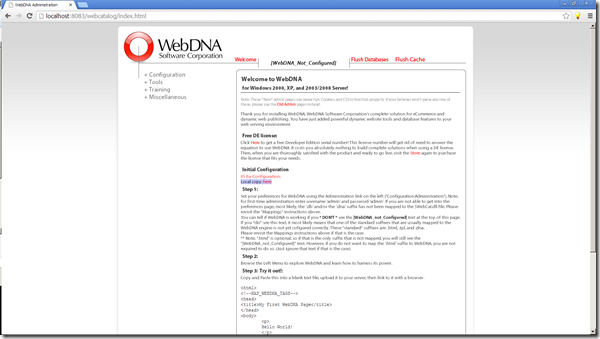
Then page should load as below:
<
