A Step-By-Step guide on How to create a vDisk from Master Target Device in Provisioning Services
Have the Provisioning Services installed along with required infrastructure networking configured.
Ensure you have enough of Disk space to host the converted image of your Master Target Device size.
In Stores, Create a new vDisk entry.


Set the vDisk to run in Private Mode (Single Device, R/W access)

Select ”Active Directory machine account password management”

Logon to the Master Target Device which you want to convert into a vDisk image format. Logon as Domain/Local administrator to that system.
If Master Target Device is a Virtual Machine, verify that it’s using proper/latest NIC adapter card. Say if it’s running VMware ESXi 5.1.0 then the latest available NIC adapter is VMXNET3

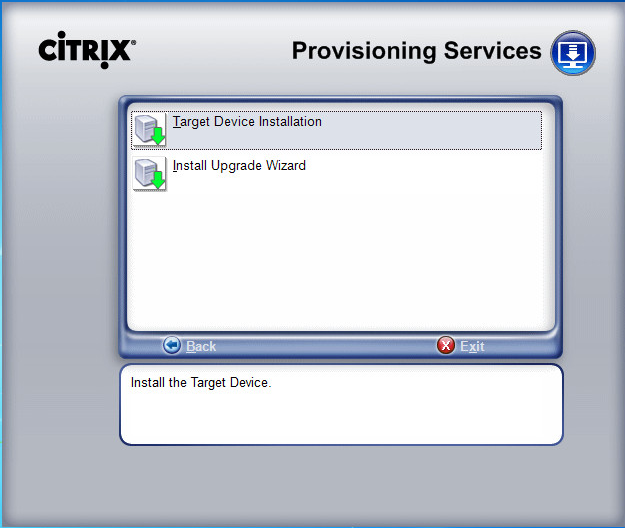
Install all/both the Target Device Installation Programs from the PVS ISO:

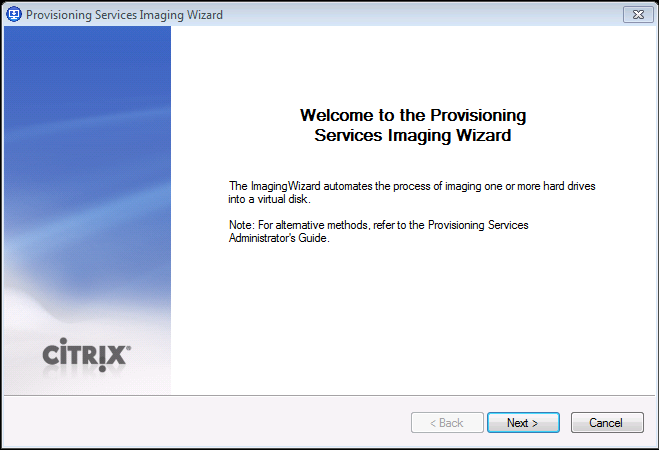
Run Imaging Wizard
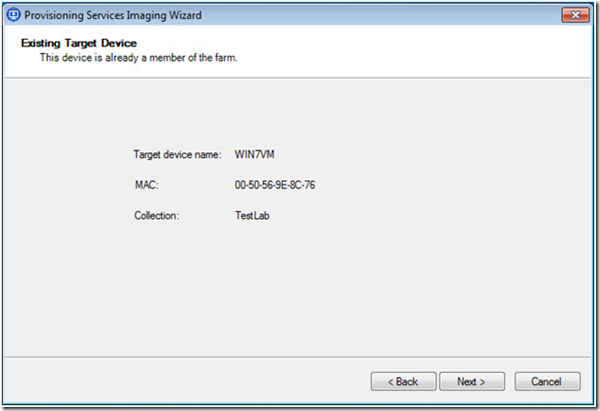
Select the active NIC adapter with whose MAC address a device entry gets created in the PVS devices collections

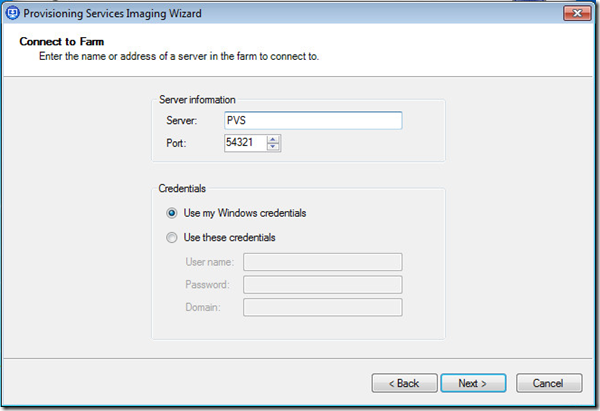
Specify the PVS server name, ensure you are able to ping your PVS server from that VM
Select “Use existing vDisk”, from the dropdown list choose the vDisk to which you want the converted image to be saved to

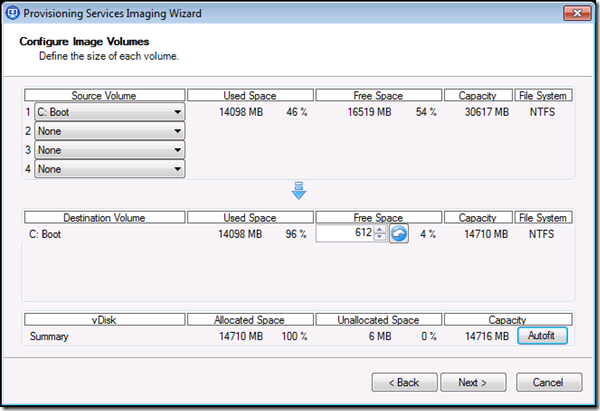
Review and Adjust the disk space allocation for Destination vDisk file
<
p>