“PowerGUI Administrative Console (Authoring Mode)” is one of the easiest and free tool that I am fond of developing GUI interface for my PowerShell scripts. It’s command line is: "C:Program Files (x86)PowerGUIAdminConsole.exe" –AuthoringMode
Essentially it creates a GUI around by wrapper scripts bundled as PowerPacks. In a default install, you’ll find PowerPacks loaded for managing your Local System and AD, etc.,

A PowerPack will usually contains Nodes and Actions which are built up of PowerShell Cmdlets or scripts. These nodes can be arranged in any fashion.
Create a New > Folder > give it a name > Choose “No Command” > Change Icon.. as needed
Under the new Folder created, you can create your required number of Nodes that will contain and run the cmdlets: (Here I am switching to show you a sample entries that I created in my PowerPack)
Clone-Manage-VMs is a Folder without any commands/Code to run:
Right click on the folder > Node > Give it a name > Choose “Custom Script” and put your script code as shown below:
As and when you click on the Node, the respective Custom script code will execute and Results will be shown in Results pane:
In the Actions Pane, you can right click > New > Action >
Then in new action Properties > give it a name > Change Icon as needed > Choose “Custom Script” that you would like to execute when user click on this action item from the Results entries right click context Menu.
Once you have all the required levels of scripts/cmdlets at Node levels giving you the results and then script/code to be run as Action when user click on the respective context Menu entry.
Then you can go ahead and save/convert all of your setup as a PowerPack as shown below:
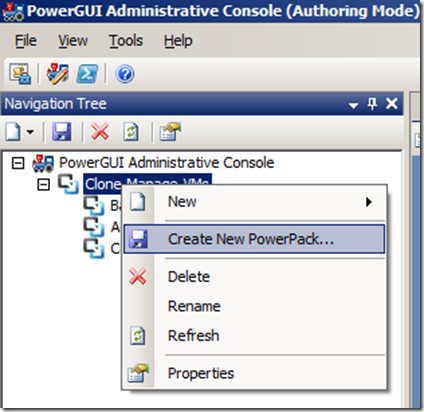
Right click Folder > click “Create new PowerPack…”
Then you’ll be asked to specify a name for Powerpack, verify the Version, set and Icon, Select any PowerPacks that this new PowerPack is dependentent upon in order to execute the commands.
If you click on “Advanced”, you’ll be given option to choose the script node and their respective Actions that you’d like to be considered for creating new Powerpack.
Once you create a Powerpack, you need to save changes to your Powerpack to the actual File by using Export function otherwise all of your changes will be lost when the Powerpack/application is reloaded.
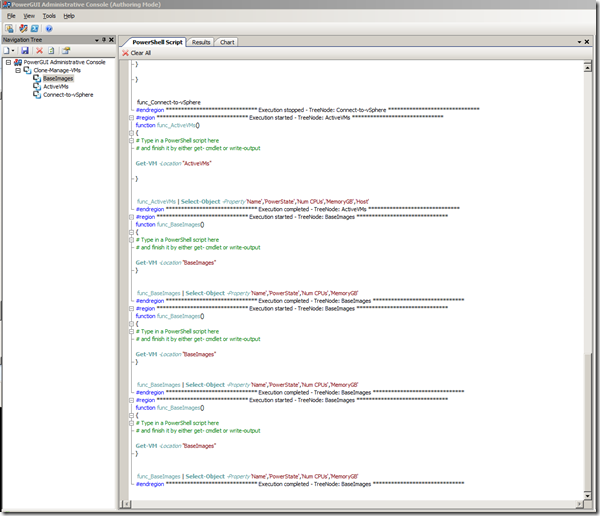
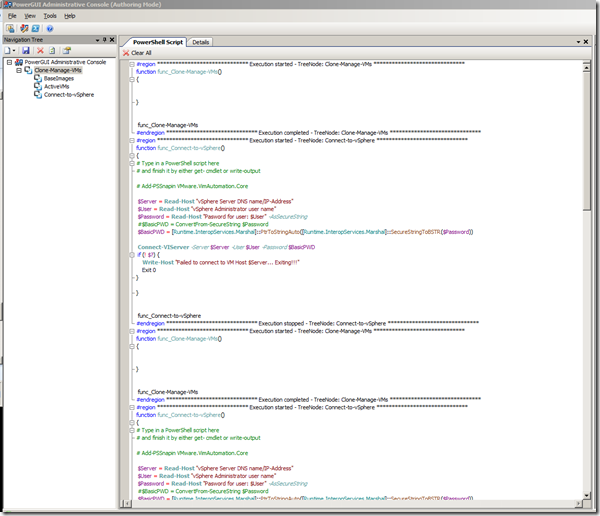
You can also view the respective PowerShell code for any of the nodes/actions that you have created. If you select the top folder and view the PowerShell script, you’ll get a complete script for your PowerPack:
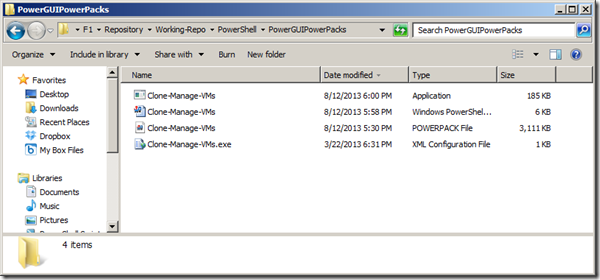
Further to that you can take this PowerShell script code, save it as .PS1 file. Edit the code to call the functions in the order you’d like to execute when you run this script in Command Line or Compile and Distribu
ted as .exe file using PowerGUI Script Editor:
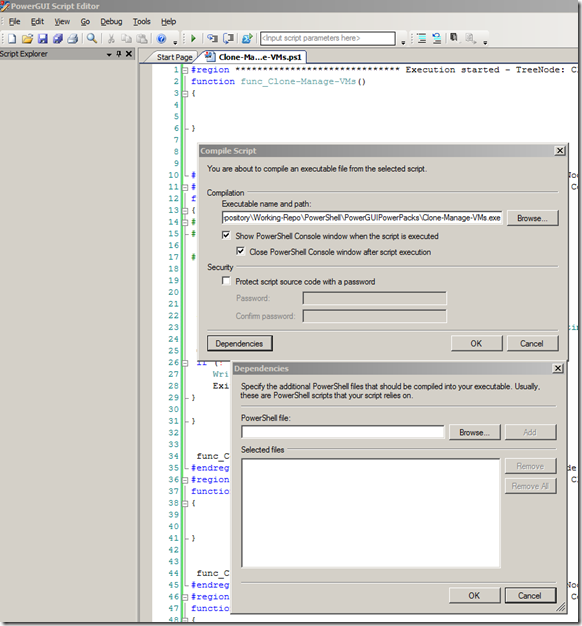
Open the updated script in PowerGUI Script Editor > Tools > “Compile Script…”
Specify the destination location to which you’d like the .exe file to be placed. You can also design a dependency script execution which will run the dependent Powerpack scripts if needed.
When you simply launch the .Exe executable, it will run under a
Another useful article on the same topic
Adding a Graphical Front End to your PowerShell Scripts
A better detailed document would be:


