Using “Citrix XenApp Server Role Manager”
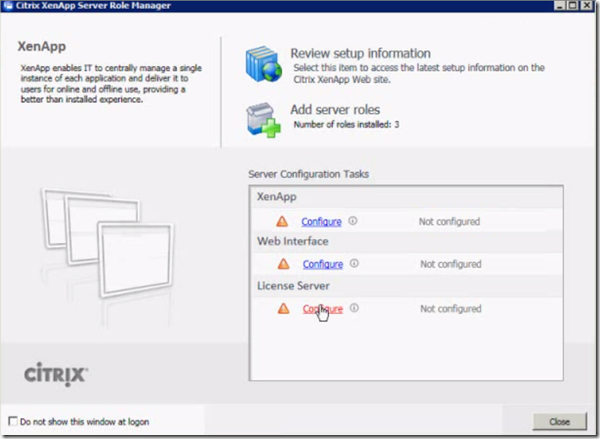
- Once you have Licensing Server Role installed using “XenApp Server Role Manager”, click on the Configure link under “License Server” as shown below
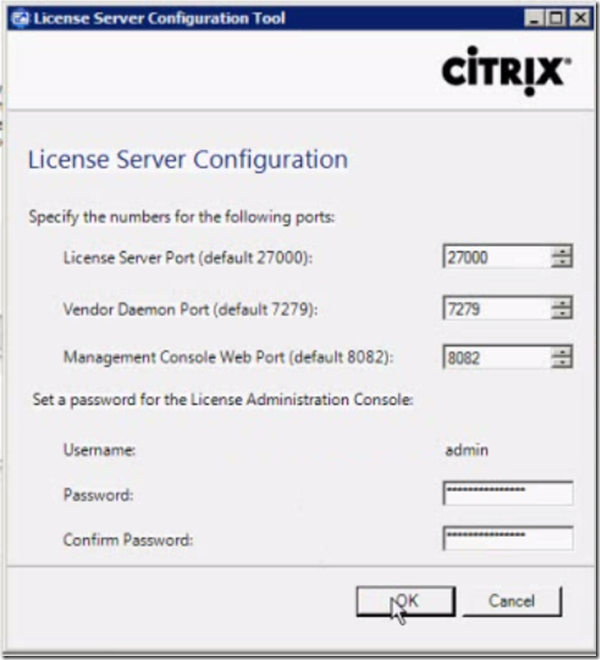
- In License Server Configuration Tool, You can specify a new port numbers or leave the default in place, set admin user password for the Licensing Server Management Portal
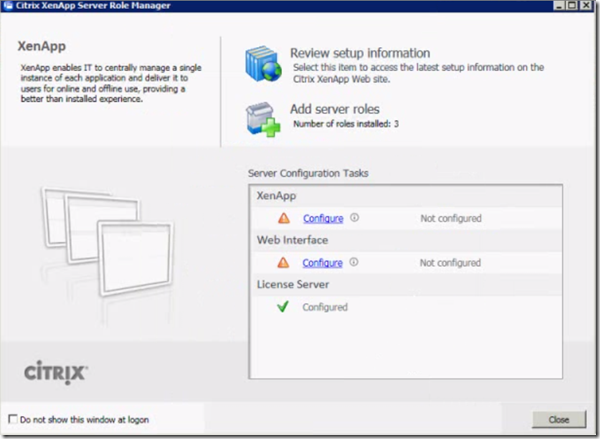
- Upon successful update, you’ll see the License Server as configured
Using License Administration Console:
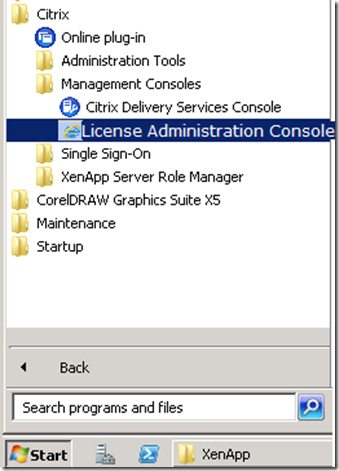
- Launch License Administration Console from “MicrosoftWindowsStart MenuProgramsCitrixManagement Consoles” as shown below
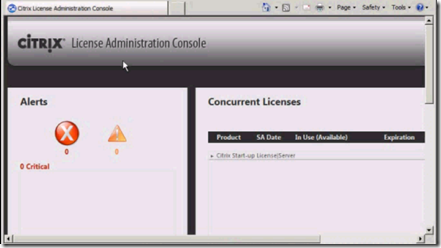
- You’ll have a IE page opened with “License Administration Console” as shown below which shows the default Citrix Startup Licenses
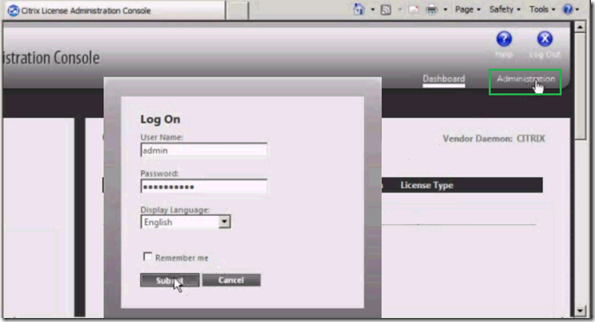
- Click on “Administration” option beside Dashboard and login with the admin account you’ve configured
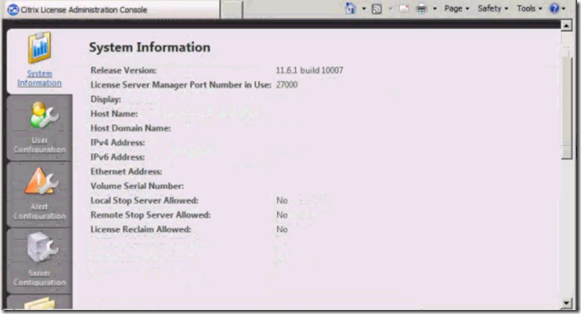
- The first screen on logon comes with “System Information”
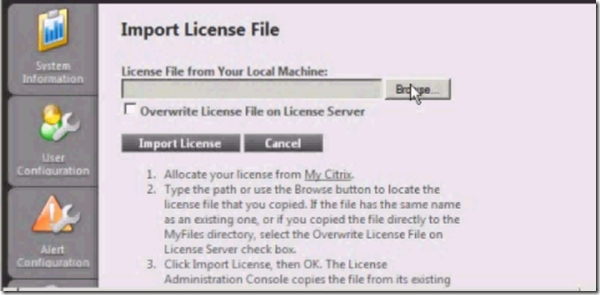
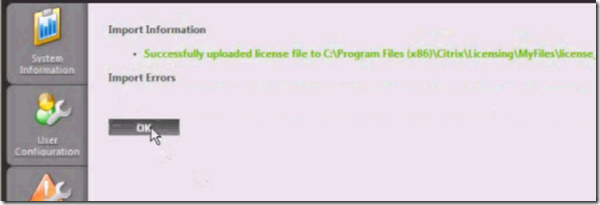
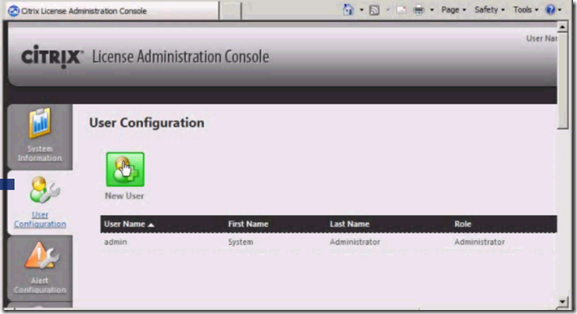
- You can navigate through the other sections in console as shown below to carry out regular License Administration tasks
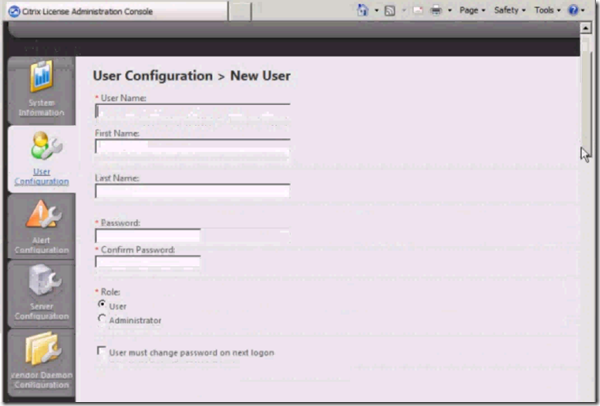
- Use “User Configuration” to manage License Console users
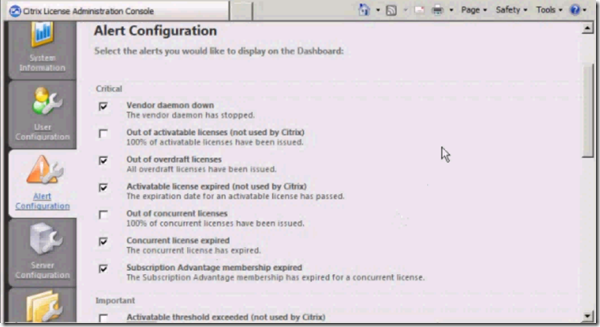
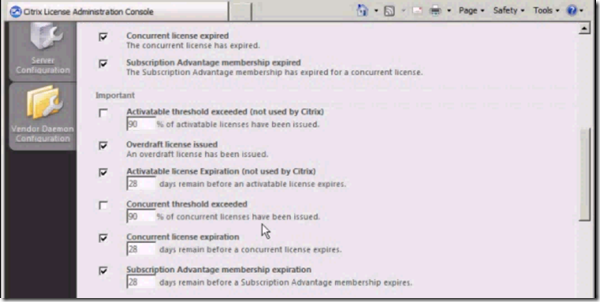
- Use “Alert Configuration” to setup alerts classified into Critical and Important. You can modify the default alerts configuration/thresholds or choose more.
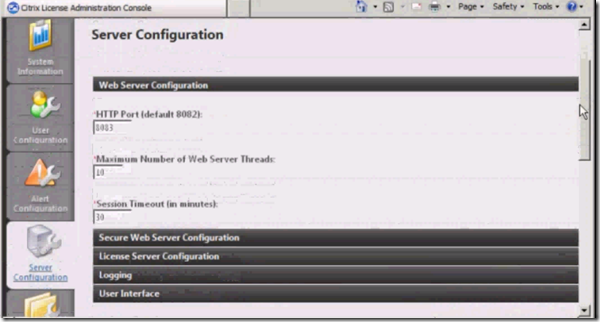
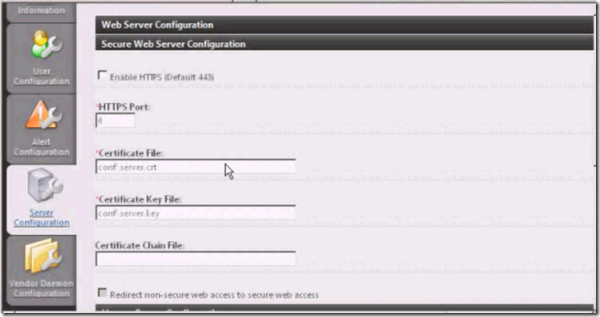
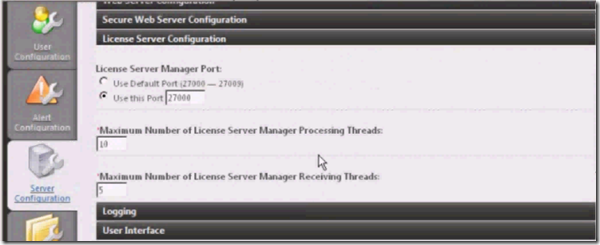
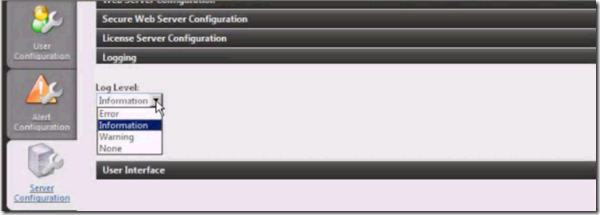
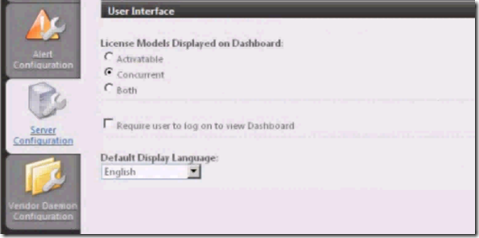
- Server Configuration section takes to the options for
- Vendor Daemon Configuration

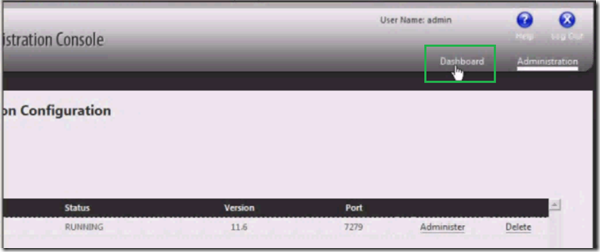
- Click on Dashboard option to verify the overall Licenses status, errors and warnings if any
- That’s it with this you are all done with configuring your Citrix XenApp server and license for your environment
